

Note: It is highly recommended that any single-page corrections exceeding 50 pages follow the complete component replacement workflow as this may be more efficient. To use the recommended process for replacing a component, see this article on replacing an entire component.
Keep the following in mind when uploading 30 or more files at one time;
in order to maintain a desired page order, it is highly recommended to use an alphanumeric or numeric naming convention
use single-page PDFs only
for multi-page PDFs, use multiple upload sessions instead - limit each upload session to 29 or fewer files
the number of pages in a file is not displayed
rearrangement of file order is disabled
the Preview button is not displayed
see the release notes here for more detail
Replacing a page within Lakeside Scout is a simple drag & drop process.
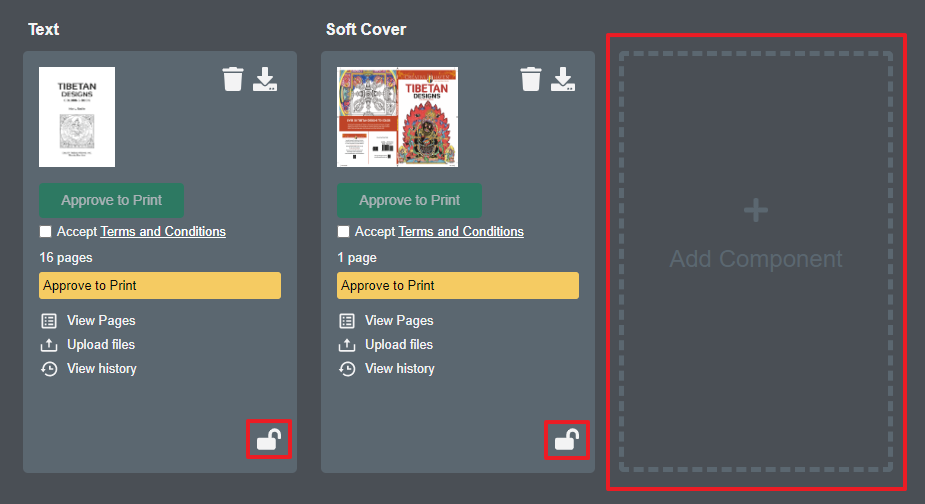
Start by finding your title and clicking on the + Add Component card. Note - the component(s) must be checked out as indicated by the unlocked icon in the lower-right corner. If the icon is locked, the component(s) must be checked out first. See this article if only one component requires corrections or this article if multiple components require corrections.
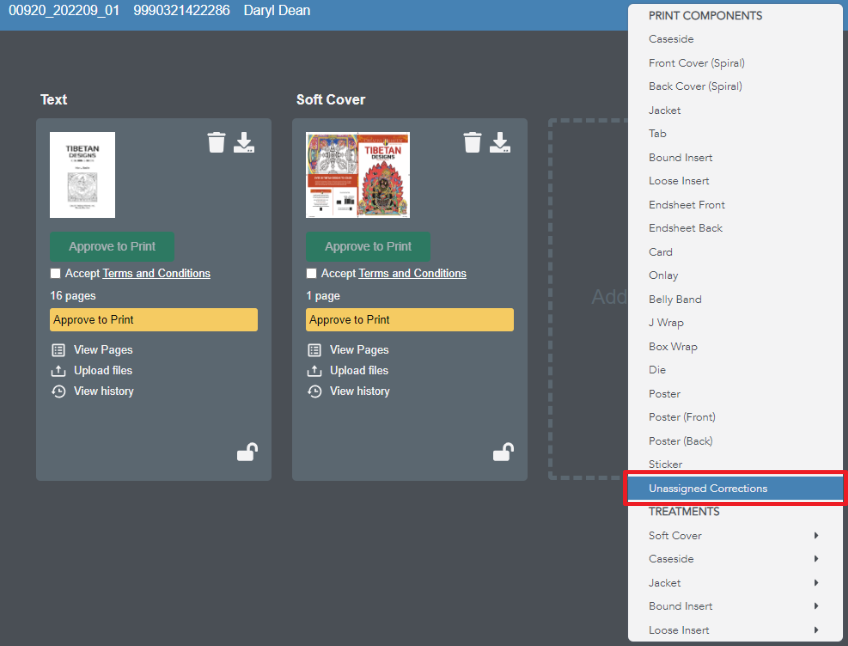
After clicking on the + Add Component card, a contextual menu will open. Select Unassigned Corrections from the list of print components.
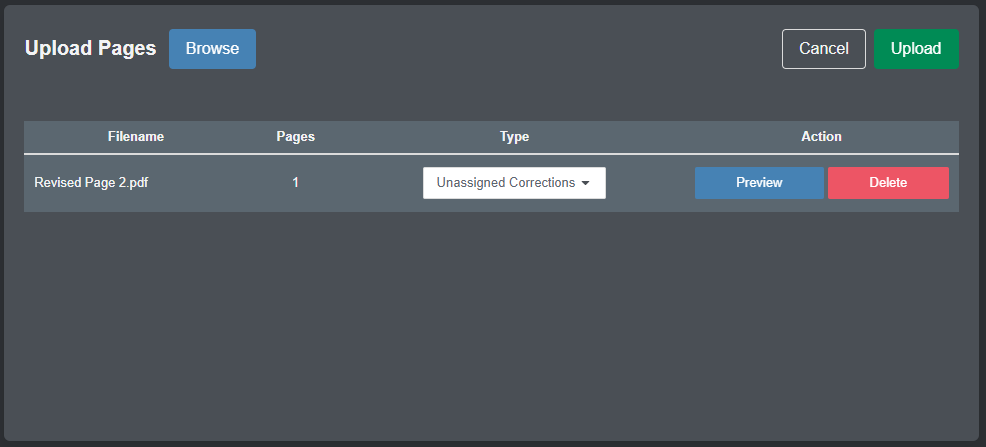
In the Upload Pages window that opens, click Browse or drag & drop your file into the window. If uploading multiple files, they will automatically sort alphanumerically based on filename. Note - whenever you add new files to the list, either by drag & drop or browse, filenames will resort alphanumerically.
After selecting the PDF file(s) you want to upload, simply click the Upload button and the PDF file(s) will be uploaded. When the upload completes, the system will begin processing the pages.
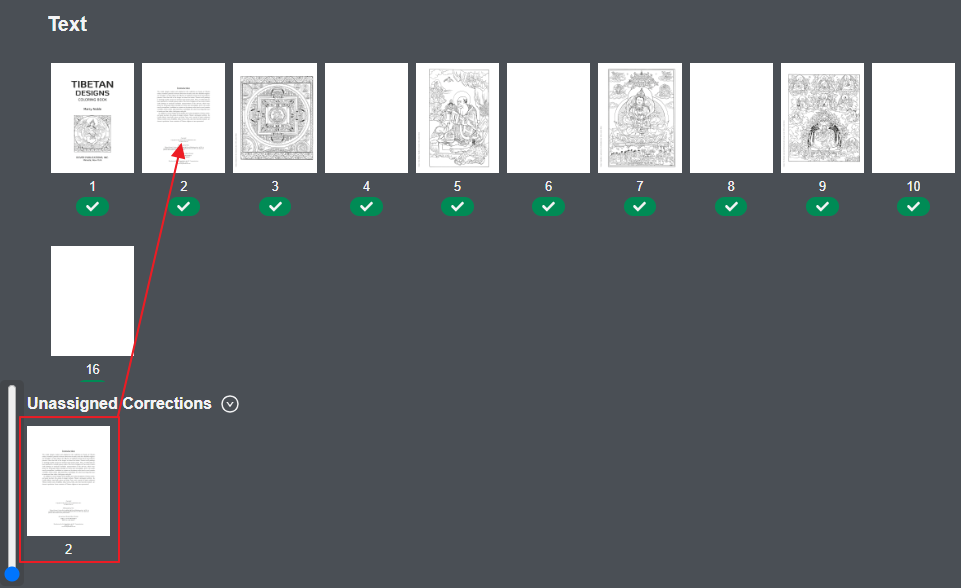
Next, click on either the component thumbnail or the View pages link of the component card where the correction is needed.
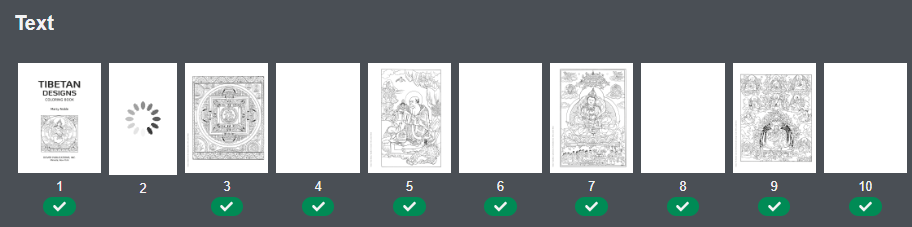
When the thumbnail appears in the Unassigned Corrections area, click-hold and drag-and-drop the page onto the page position that is to be replaced. In this example, page position 2 is being replaced in the text component.
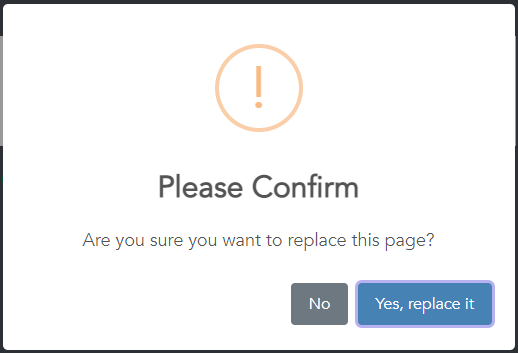
Confirm the replaced page at the prompt.
After the replacement page is correctly positioned, a spinning icon will indicate the final preflight analysis is underway. A new thumbnail will be generated once the analysis completes.
NOTE: Preflight issues that may arise will not appear in the preflight summary window until the page is placed into the actual component. As such, the corresponding warning/error icon(s) under the page thumbnail will only display after the page is assigned to an actual component.
It is highly recommended to check the page before the replaced page, the replaced page, and the page after the replaced page to ensure it is placed in its proper position.
Any reported preflight issues appearing on a replaced page must be resolved before approving its content. See this article for details on resolving reported preflight issues if applicable.