Lakeside Scout makes adding corrections simple while giving the user full control of placement within the book. Lakeside Scout has the ability to check out a single component within a title or the entire title with all of the supporting components. See the article Retrieving Entire Titles For Making Reprint Corrections if you need to check out an entire title.
IMPORTANT: Only ONE component can currently be checked OUT and back IN at this time. In order to check OUT other components, any checked OUT components will need to be checked back IN.
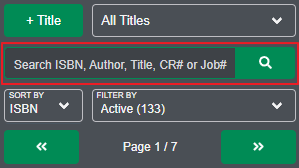
Start by searching for your title via ISBN, Author, Title, Lakeside Book Company Job number or the CR (customer reference) number which is most commonly associated with a customer that does not use an ISBN but rather may use something like a SKU, product code, etc.
Making Correction(s) to Single Component
Users no longer need to check out the entire title to make a correction to a single component during a reprint cycle. The Check out icon is now additionally located at the component level. To make a correction to a single component that is checked IN, the user will click on the Check out icon on the component itself. In the example below, a correction is only required for the Soft Cover component.
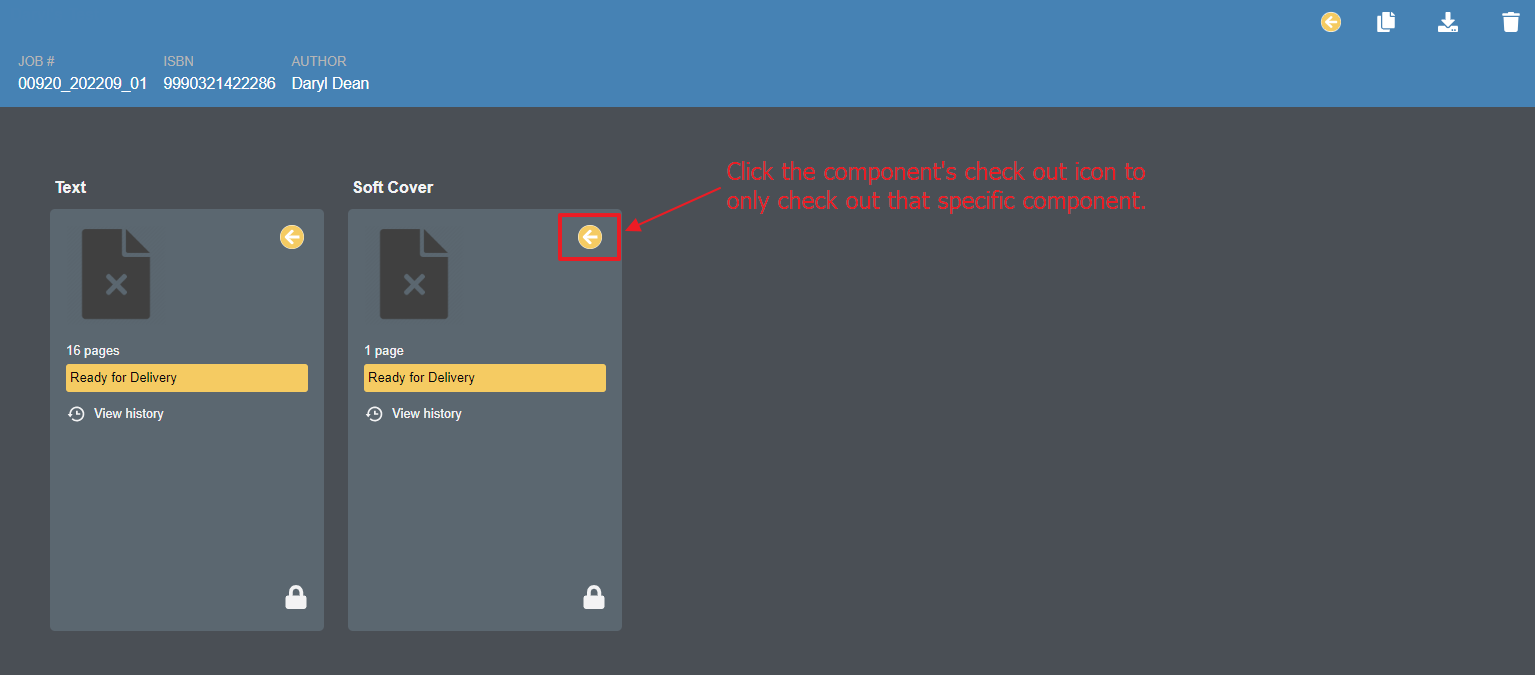
After clicking the Check out icon on the requested component, Lakeside Scout will inform the user that the component is being checked out and unlocked to allow for necessary corrections.
Once the component is checked out of the repository, the title will look different. The user will notice thumbnails, the ability to upload files, view pages and the Check out icons will disappear. The checked OUT component has an unlocked icon in the bottom-right corner while the component that was not requested to be checked out will still have the locked icon in the bottom-right corner.
NOTE: The user may need to click on the title again from the list of titles in order to see this change.
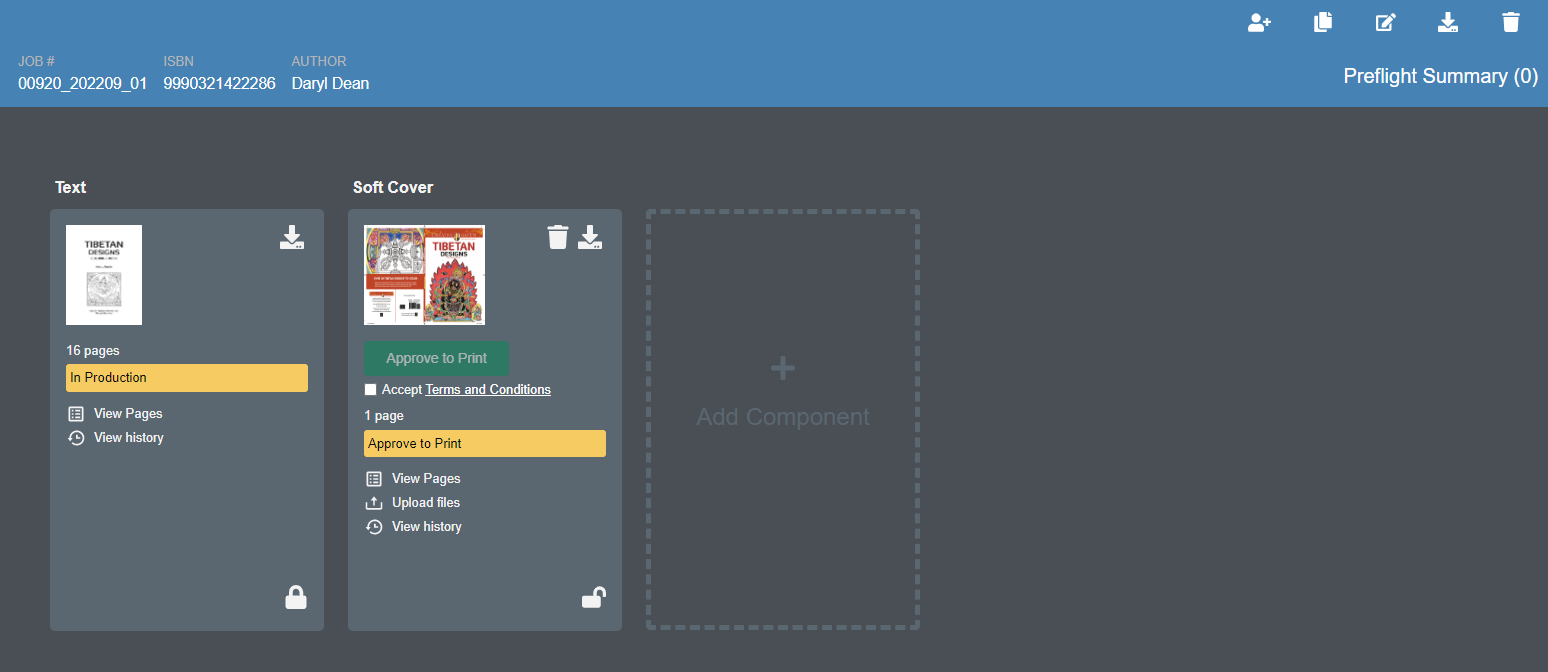
Corrections can now be made to the checked OUT component and continue with the process to check the corrected component back IN, (i.e., resolve any preflight issues, approve the position/content and Approve to Print).
See the article Making Corrections for details on replacing corrections pages.
Any other components that do not require corrections, (i.e., those that were not checked out) require no action.