Note:
Measurements are based on the default unit of measure, (e.g., inches, points or millimeters) for your user account. The unit of measurement is currently controlled by those with an AccountAdmin role. If your role is different, please contact the person that is assigned that role within your organization.
The measure tool is not available when viewing pages in spread mode.
Exiting proof mode will clear all measurements.
If applicable, measurements added will appear on each page in the component as you navigate from page to page.
The measure tool is located in proof mode - select the Scale/Crop tab in the top right corner.

Under the Measurements area, click the +Add button to activate the measurement tool.

The page will show the text 'Click and drag' along with a + (plus) icon that can be positioned on the page for an initial starting point.
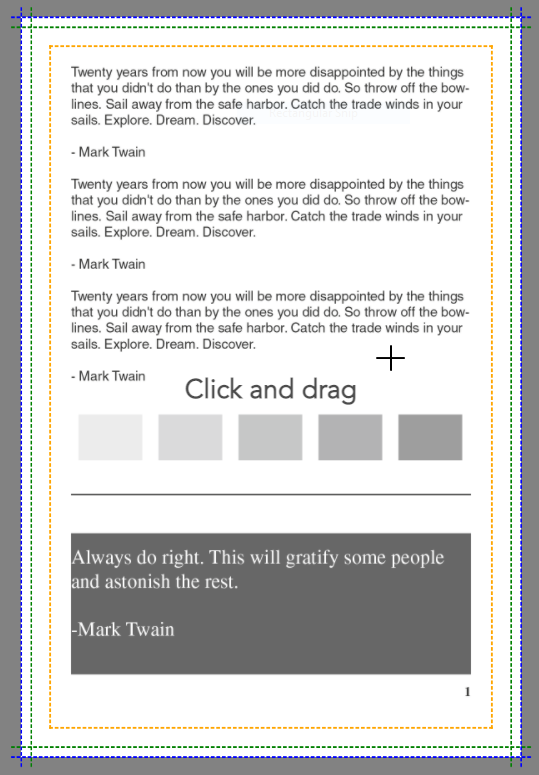
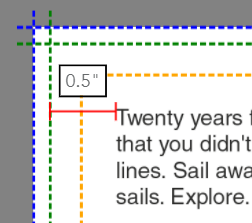
Click, drag and release to measure (tip - holding the shift key allows the measurement to lock at 90 or 180 degrees). Once a measurement is placed, it can be moved by clicking in the measurement box indicator and dragging it to a new location.
Place additional measurements on the page as needed by clicking the +Add button.
Clicking the Clear button removes all measurements placed in the component.
Clicking the Hide button hides the measurements.
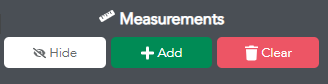
Clicking the Show button will restore the measurements to view.