
Note - See this article regarding end of Adobe support for Type 1 fonts.
https://helpx.adobe.com/fonts/kb/postscript-type-1-fonts-end-of-support.html
How to Embed Fonts in InDesign
Note: All screen grabs below were taken on a Mac OS using InDesign Creative Cloud 2023. Different versions of InDesign may look slightly different but the process is the same.
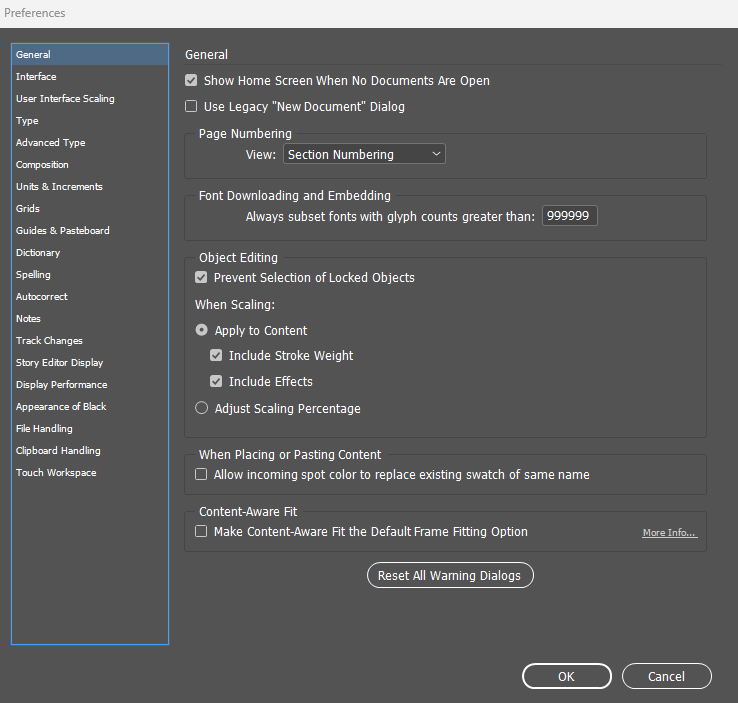
1. From the Edit menu, select Preferences > General. Configure the 'Font Downloading and Embedding' section to its maximum value as shown below.
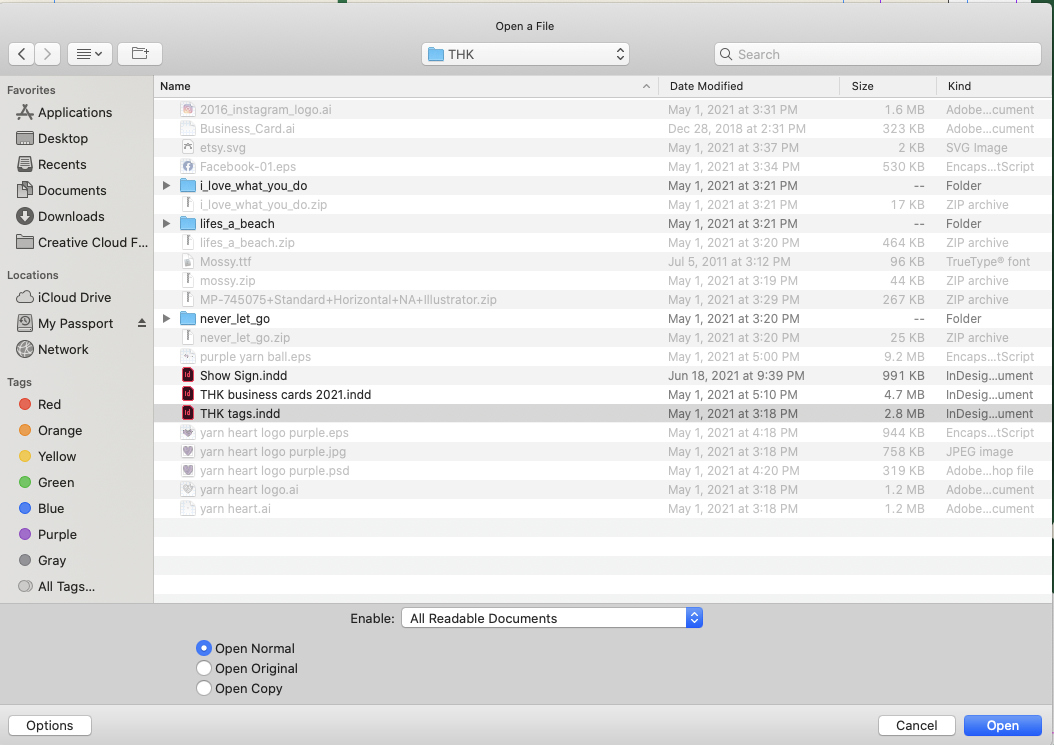
2. Open your document in InDesign.
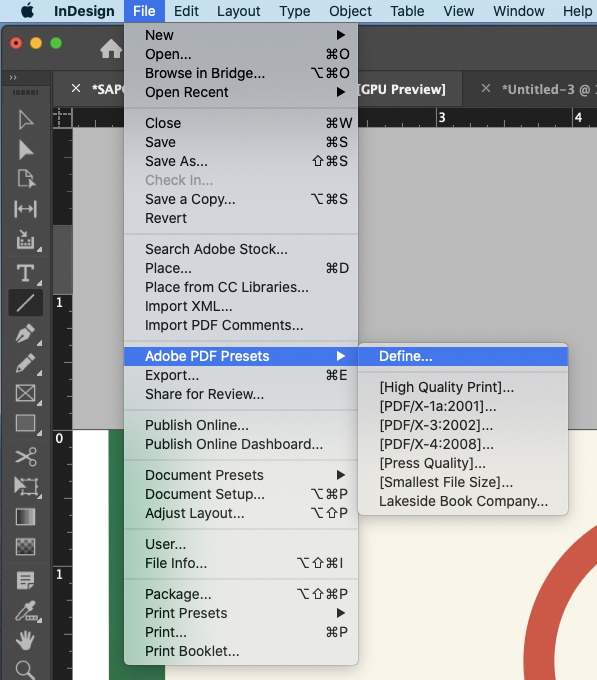
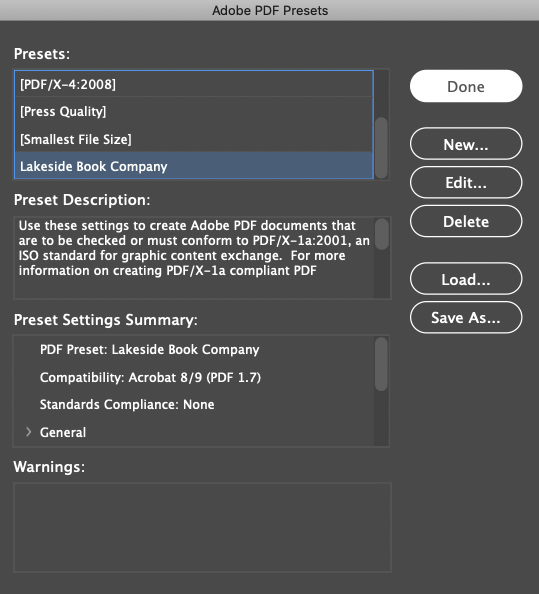
3. Click on the “File” drop-down menu and select “Adobe PDF Presets” and choose the "Define" option. For a copy of the Lakeside Book Company PDF preset, please contact your onboarding specialist.
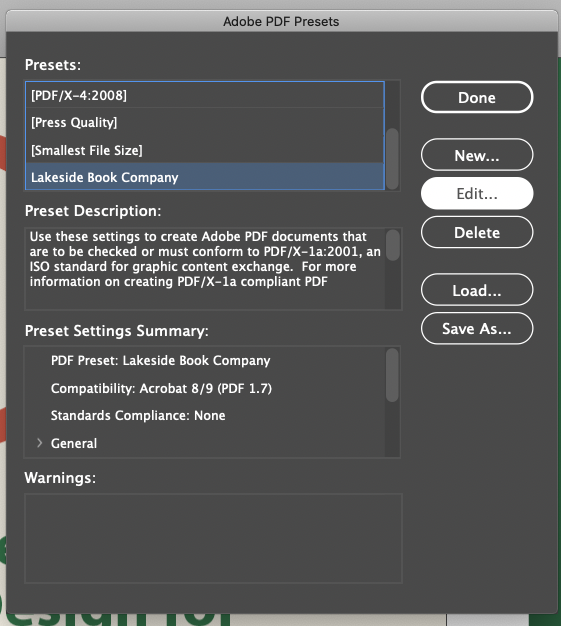
4. Select the PDF preset to be used (in this example, the preset is named Lakeside Book Company). Click Edit...
Note - If you are already using the recommended export settings from Lakeside Book Company, this setting is already configured for you. To confirm the setting, proceed to step 4.
5. In the dialog box, click on “Advanced”. You can choose to embed all of your fonts or just a subset of the fonts. To embed all fonts, enter 0% in “Subset Fonts When Percent of Characters Used is Less Than”. Click OK to save the changes.
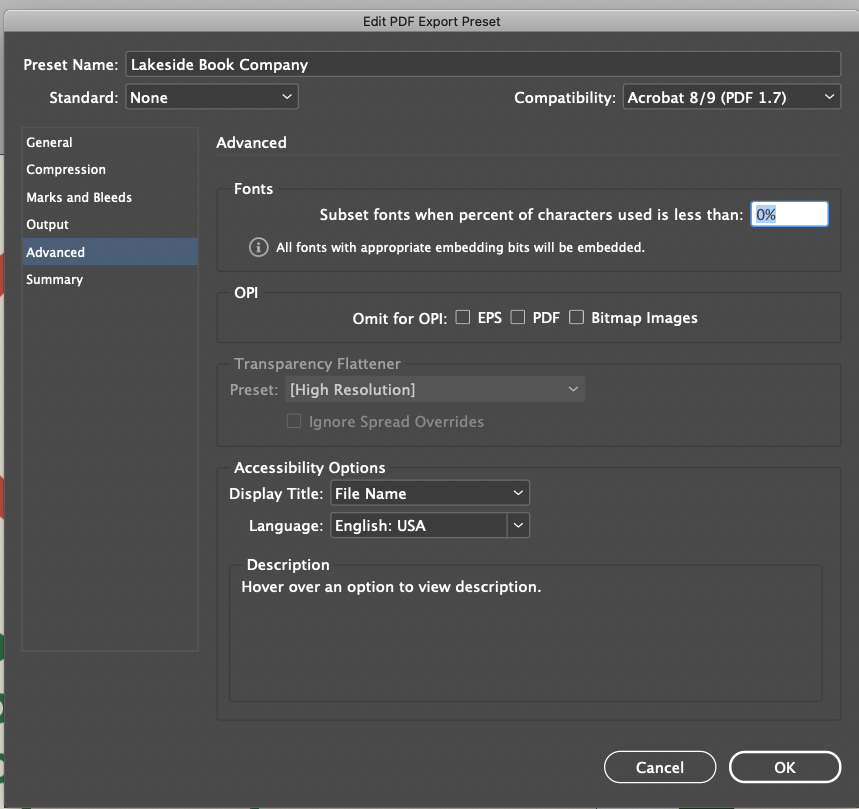
6. Click on "Done" to close and save the full embedding of fonts.
7. In the future, choose the same PDF preset when outputting PDF files for Lakeside Scout.